When it comes to penetration testing, a home lab is the best way to get tons of hands-on practice, especially if you are just getting into the field.We’re going to run through the basics of getting some virtual machines set up so that you can have at it.
Part 1: Virtualization Software (VMware)
First, we will need a virtualization software to run our lab machines.The main two that I see being used are VMware and VirtualBox.VMware offers VMware Workstation for those running Windows or Linux as your operating system, and VMware Fusion Player if you’re running MacOS.You can get a free personal use license from VMware for either option.If you want a commercial use license or any of the pro features, it will cost you some money.
VirtualBox runs on a variety of operating systems and is also free, since it is open source.Both are great options, however I’m going to be using VMware Fusion Player, as I’m using MacOS as my host.You can growl at me all you want.I use it because I’m able to become familiar with all flavors of operating systems this way.
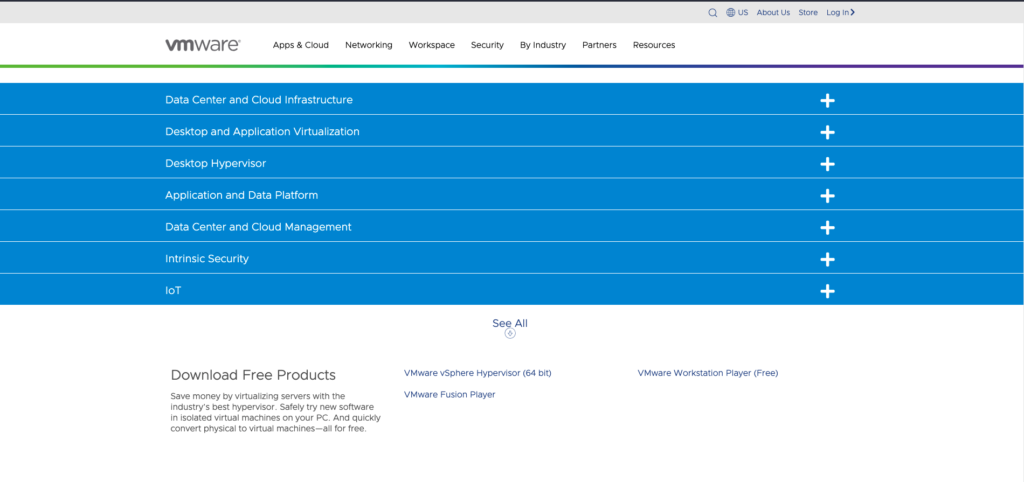
Unlike VirtualBox, you’ll need to create an account with VMware in order to download their software packages.VMware makes it somewhat difficult to find the free downloads they offer.You can find them hidden at https://www.vmware.com/try-vmware.html towards the bottom of the page.Locate the software you want and click the link.You’ll be redirected to sign in.
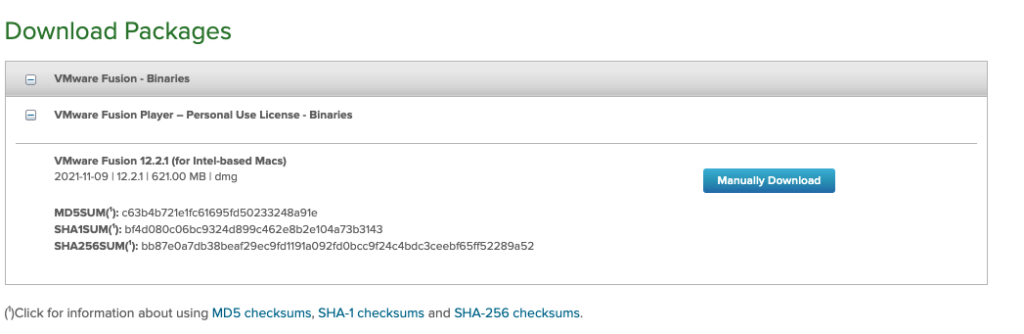
Once signed in, you can download and verify the binaries using the provided checksums.If you have any issues with the download button like I did, check out the info in this KB article under the “Download VMware Fusion” section: https://kb.vmware.com/s/article/2014097
In a Mac Terminal, use the shasum command and pass the downloaded file to compute its SHA256 hash.
shasum -a 256 ~/Downloads/VMware-Fusion-12.2.1-18811640_x86.dmg
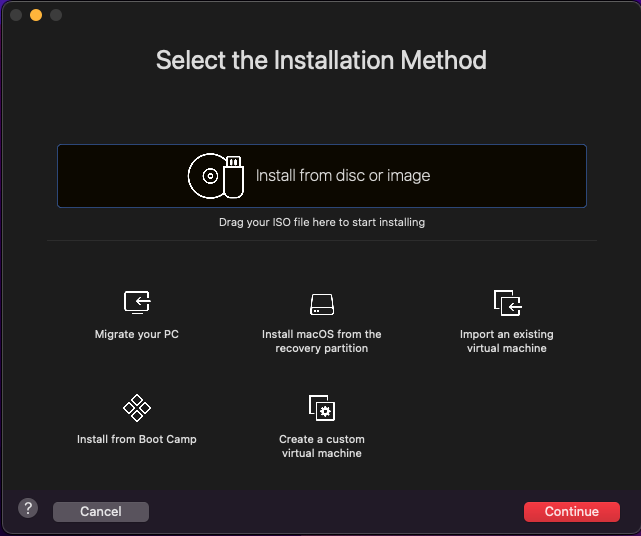
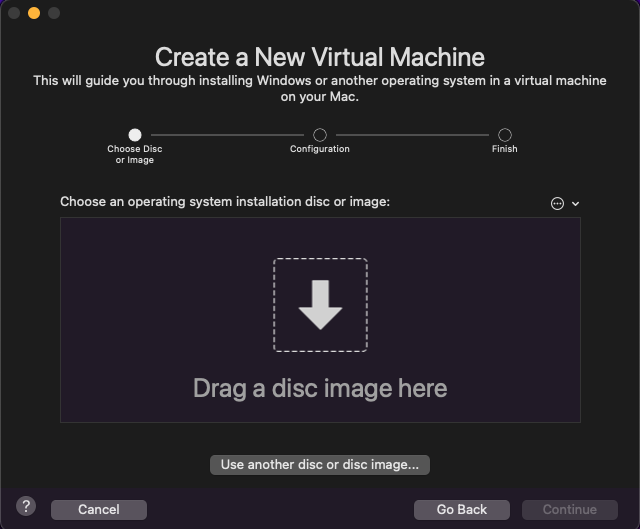
After verifying the checksum against those provided as seen in the screenshot above, use the .dmg to start the install.It is pretty self-explanatory, so I won’t cover it here.You will need to enter your 25 character license key towards the end of the install, which can be found back at the VMware download page.A screen that looks like this will appear once it’s finished.
Part 2: Attacker box (Parrot OS)
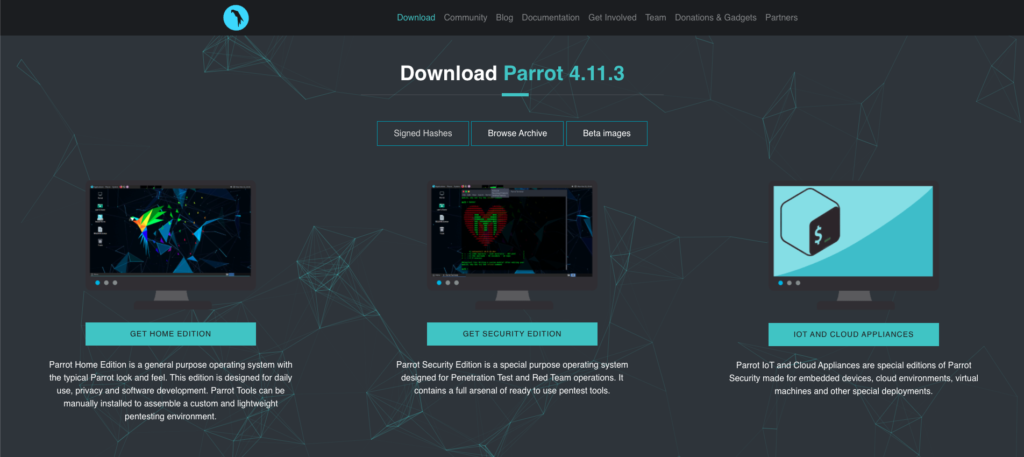
The VMware screen that has popped up is asking us to install our first VM.We’ll need to get an .iso for the OS we want to install.I already have a Kali Linux VM, so I’m going to be installing Parrot OS.Go to https://www.parrotsec.org/ and navigate to the Download tab.
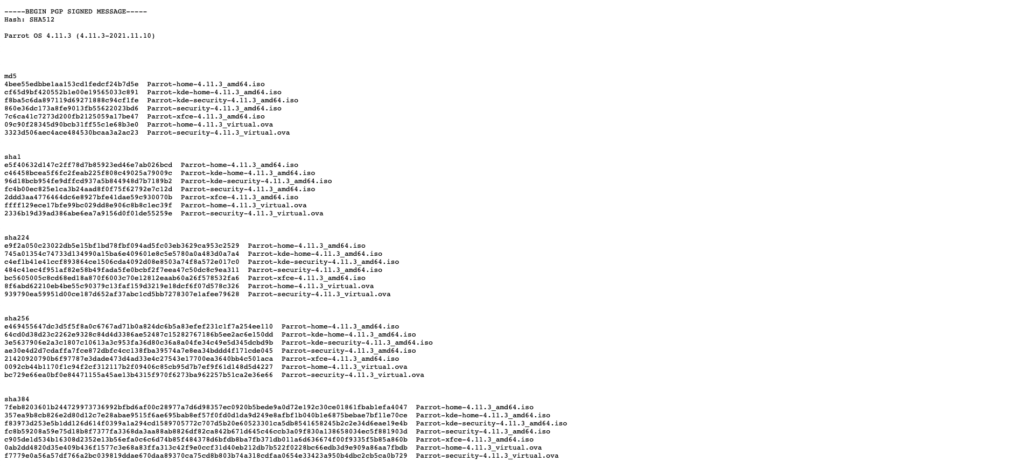
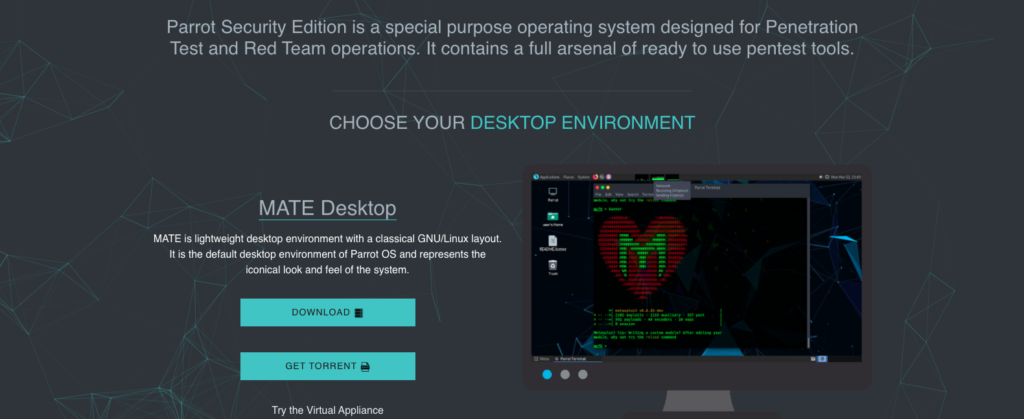
Select the “GET SECURITY EDITION” as this version comes with the full set of tools that we want already pre-installed.We can see that there is also a home edition and an edition for IoT and cloud appliances.Notice that there is also a link to the signed hashes, which we will use in a minute.
I’m going to download the MATE Desktop since it is lightweight and I don’t care about the customization that the KDE offers currently.Some day I can come back and download it if I want, but the MATE option is good for starting out.
If you are following along on MacOS, you’re going to need Homebrew installed for this next part.I’m not going to go into depth on what it does, but it’s basically a package manager for MacOS – much like apt for Kali.If you don’t have it installed, you can head over here to get instructions on how to do that: https://brew.sh/.It’s pretty easy to do.
You will need to run this command to install gnupg on your Mac.If you’re using Linux, download and install gnupg using your package manager. If using Windows, you can download gnupg from their website.
brew install gnupg
If we take a look inside signed-hashes.txt, it gives another URL from which we can get their official key.Again, I’m going to download it using curl.
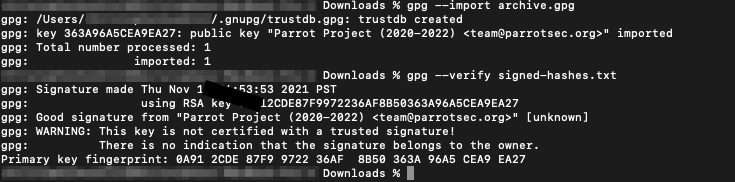
Next, I’ll use gnupg to verify that the hashes are legit using the public key we just downloaded.I trust this public key so I’m going to ignore the WARNING I get.
And finally, now that I know that the list of hashes is legit, I’m going to compute the checksum of the .iso we downloaded.
I used the SHA512 algorithm here, and when I check for the corresponding hash on the list, it’s a match!Hooray, that was a lot of cryptography, but in the end we are now confident this is a legit Parrot OS .iso and not anything malicious.So next, we will do the install.
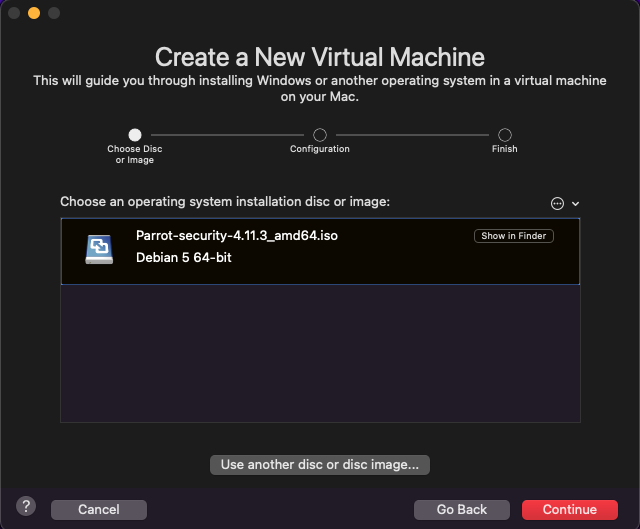
We’ll finally go back to our VMware that has been patiently waiting and give it the .iso by either dragging it over or clicking “Use another disc or image…”.
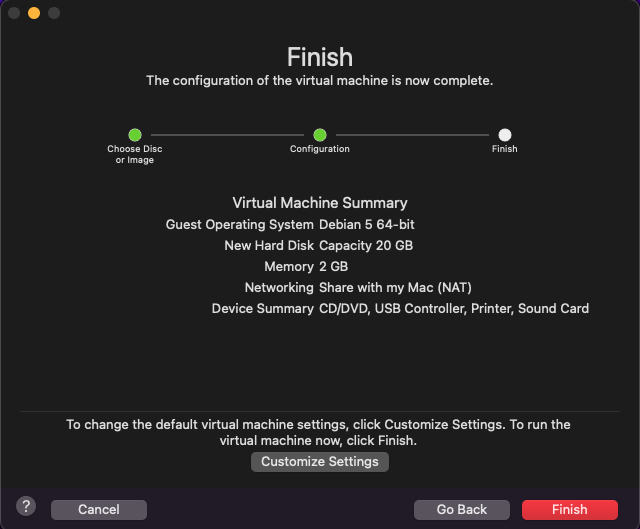
On the next screen, I’m going to click “Finish” (you can change things like memory, processors, and network settings later as long as the VM is powered off) and save it as “Parrot_MATE_64”.You can name it whatever you want – I like to be descriptive about the OS and if it’s 32- vs 64-bit.
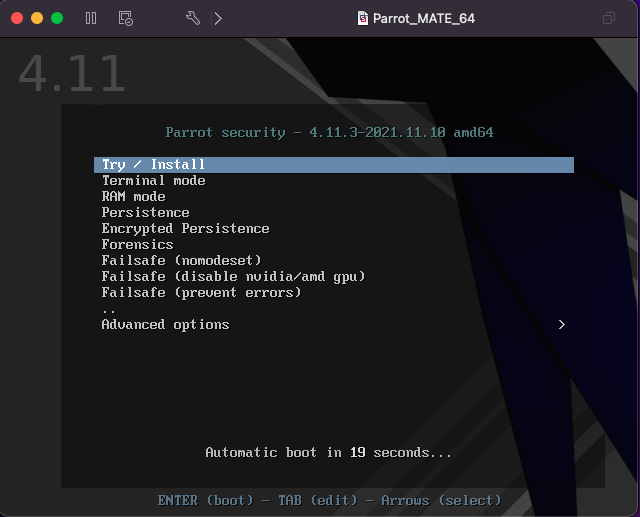
The VM will boot up and prompt for an install.If you don’t do anything for a few seconds, it will install automatically.
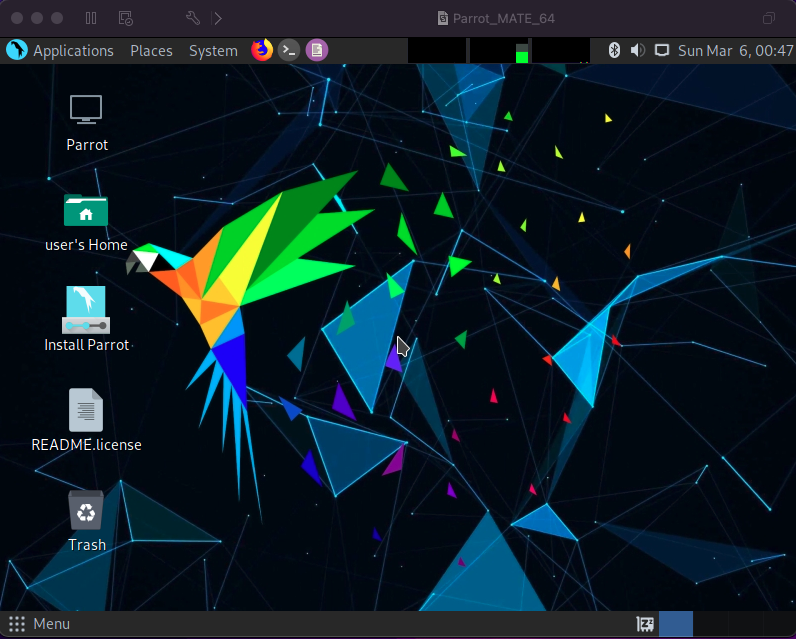
Let it do it’s thing, and then boom – your VM has Parrot OS on it!It’s that easy.
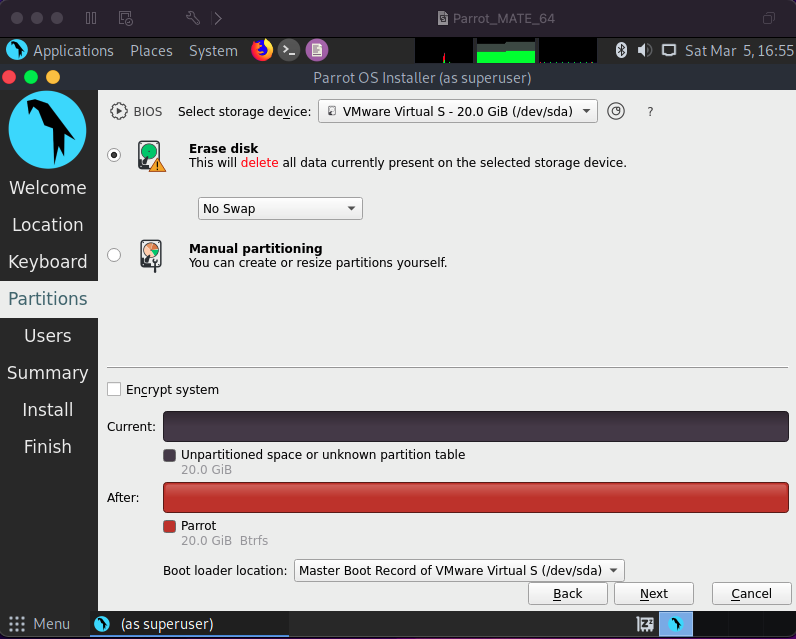
You’ll notice that it immediately brought us to the home screen as if we just logged in.You’re going to want to double-click the “Install Parrot” icon and follow the documentation here: https://www.parrotsec.org/docs/installation.html.It goes over some boring stuff like setting up your language and keyboard settings.However, there are a couple of important parts like partitioning your disk and setting your username and password.
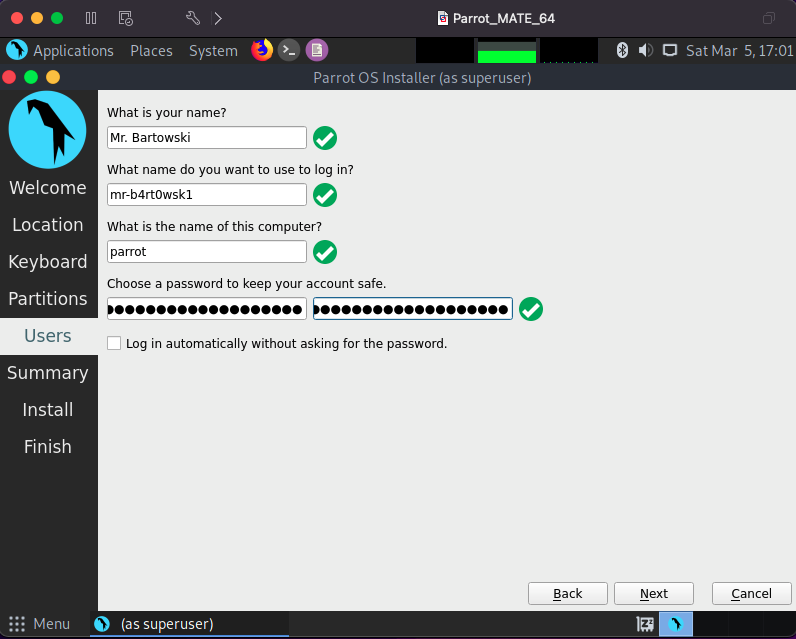
Once I get to the Partitions section, I’m going to select the “Erase disk” option and keep the drop down as “No Swap”.For the Users section, enter your information and a strong password.
Continue clicking Next and Install to finish up the install.Wait for it to complete (it can take several minutes).When prompted, restart the VM.It will probably ask you to take out the install hardware, but we can’t technically do this until the VM is shutdown.Restart it anyway.
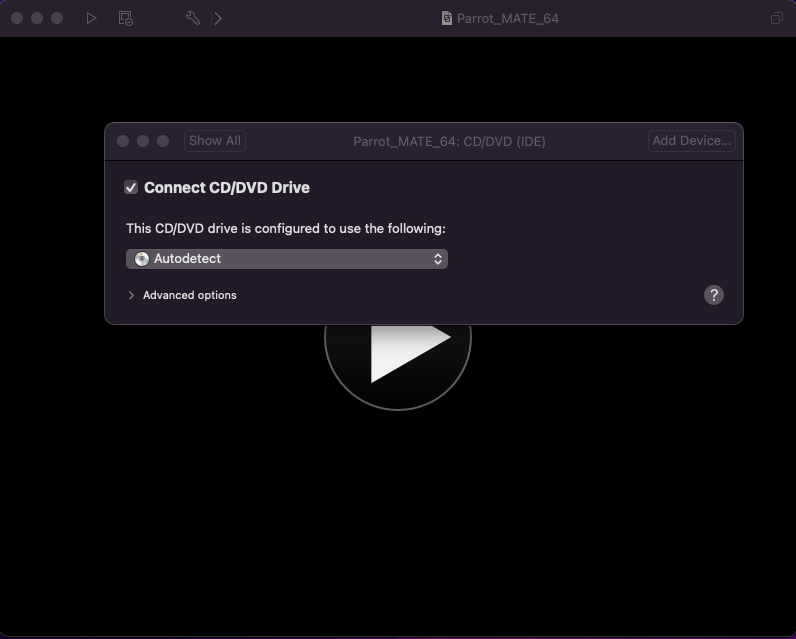
Once it finishes the restart, I would recommend testing to see if your username/password combination from earlier works.If it does, then shut down the VM, go to Virtual Machine > Settings > CD/DVD (IDE) and change the dropdown to read “Autodetect”.
Part 3: Victim box (Windows)
If you’re going to be practicing your pen testing skills against a service that spawns targets for you like HackTheBox or TryHackMe, then an attacker box like Parrot OS or Kali Linux is sufficient for most. In my opinion, it’s the bare minimum.Having your own Windows box as a victim host is a great way to get more hands-on practice, especially with Windows.There are GitHub projects out there that allow you to download and run intentionally vulnerable software on your Windows VM for this type of testing.(Side note: a general rule of thumb is to never run those types of programs not inside of a VM.)
Not to mention, a Windows VM can come in handy as a utility machine when doing HackTheBox or TryHackMe.You may come across a Windows target on those services that may be easier to exploit if you use a Windows device, or maybe you have downloaded a file from a target that is more easily reverse engineered using Windows.
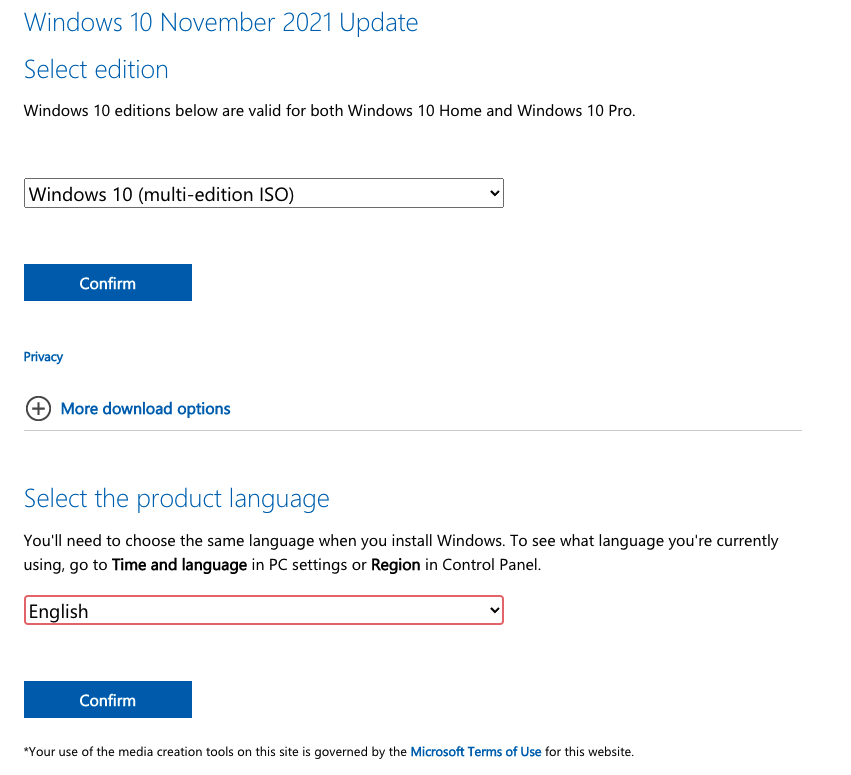
I’m going to be doing my install with Windows 10.You can install all sorts of utility boxes if you’d like, especially those that are security focused (REMnux and FLARE VM to name a couple).Windows 10 is enough for doing Windows tasks and running vulnerable apps, so it’s what I’m going to work with for now.
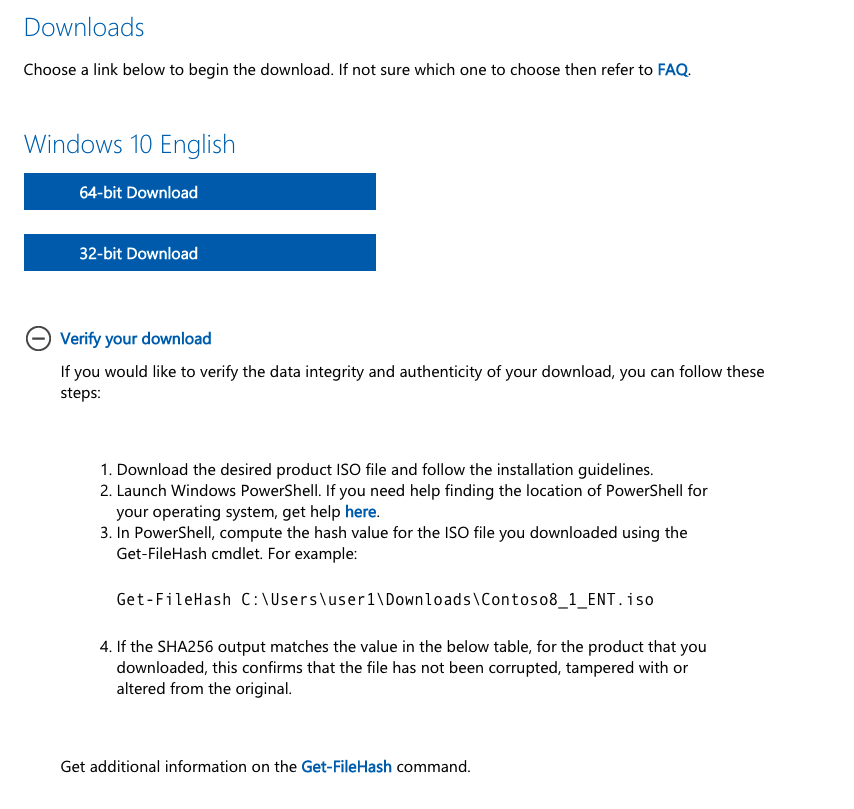
Select the ISO from the drop-down and click Confirm.The language drop-down will appear.Select your language and click Confirm.
I’m going to download the 64-bit version of Windows.We can also see that there are instructions for verifying the file using a SHA256 hash.These instructions assume we are using Windows.If you are, then great.However, I am not and will be verifying it differently.
Once the .iso is downloaded, run this command and check that it matches the hash posted in the “Verify your download” section.
shasum -a 256 Win10_21H2_English_x64.iso
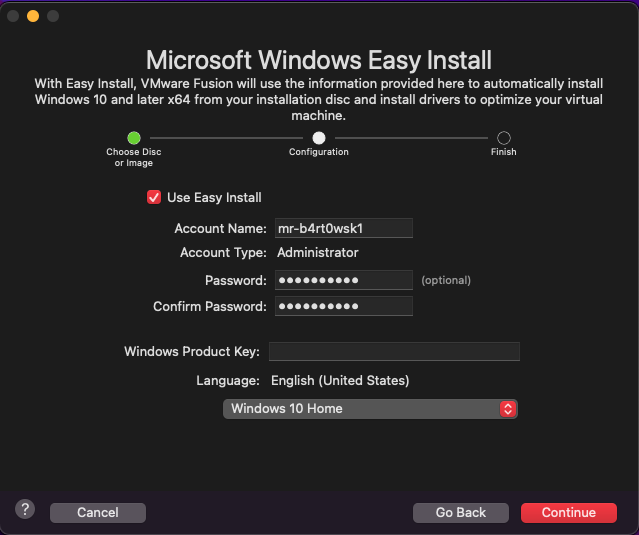
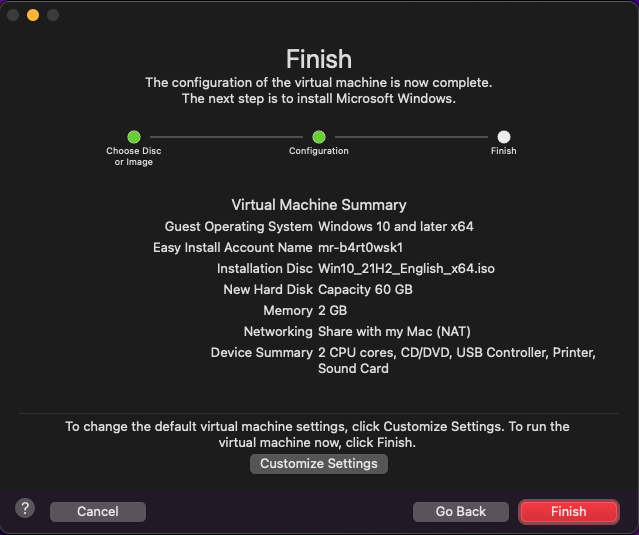
As we did in the previous section with Parrot OS, start creating a new VM and select the Windows .iso you’ve just downloaded.VMware will recognize it as Windows and provide the option to do an easy install.
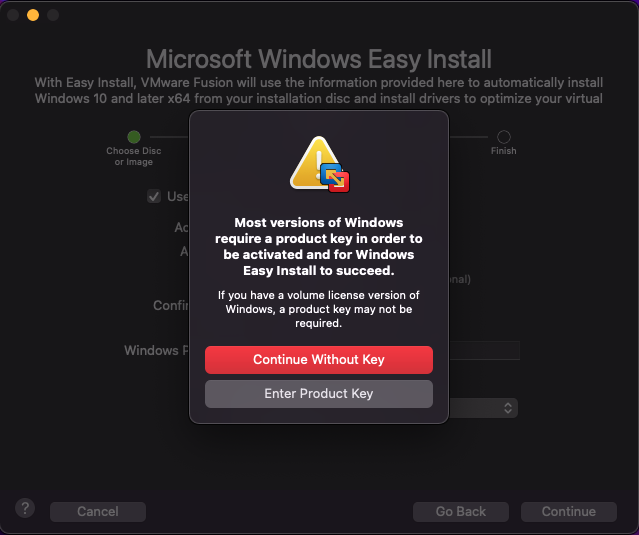
Important note: you are able to try Windows without a product key.It will allow you to demo Windows for 30 days as if it were activated.After that, you will be limited in customization and updates.I am going to install without a product key for the purposes of this demo install.
When it comes to the legalities, do your own research.I spent some time doing my own and ultimately did not find a conclusive answer.Although, I’m pretty sure using an unactivated copy over an extended period of time goes against Microsoft’s Terms of Service.What I do know is that activating Windows with a product key obtained in any way other than purchasing it directly from Microsoft is illegal, and I do not encourage this.
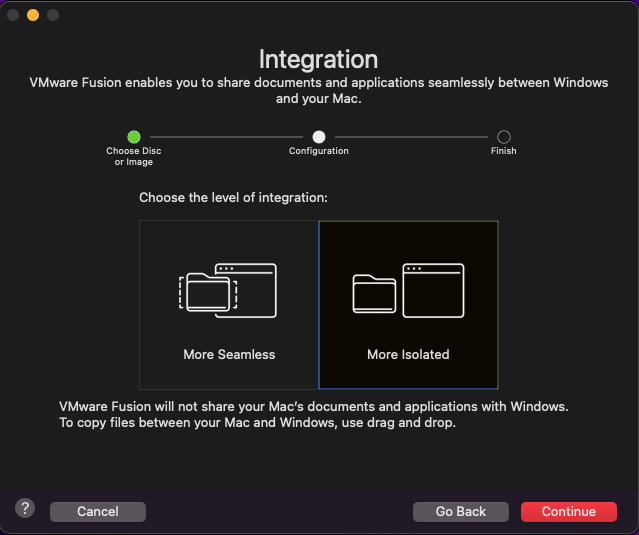
I do not want this VM to be closely integrated with my Mac.I recommend that you do the same and isolate any type of penetration testing lab VM from your host machine as much as possible.Selecting “More Isolated” will do the trick.
Accept the default settings and click Finish.When asked to save, I am going to save mine as Windows_10_x64.Again, this is just the naming convention I like.
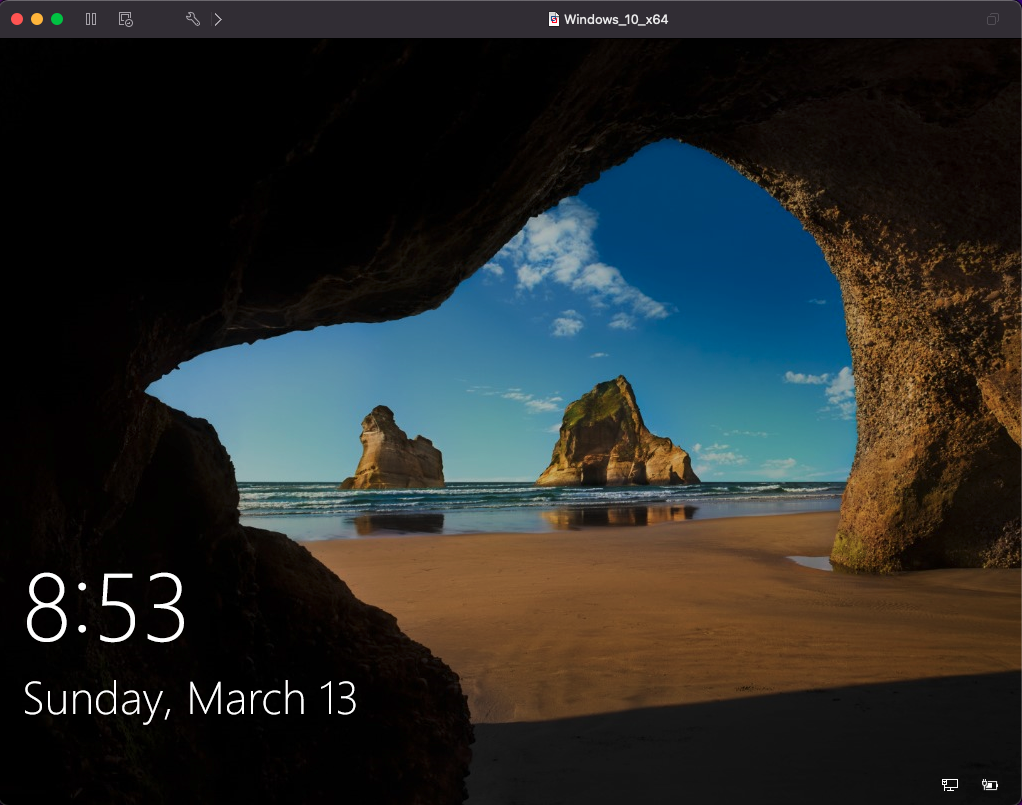
After you’ve saved it, the VM should boot up and start working on the install process.It will take several minutes and it shouldn’t require any intervention.You’ll eventually land on the Windows default lock screen when it’s done.Double-click or click and drag up to login with your password from earlier.
If asked about connecting your computer to other computers on the network, click “No”.Also, if VMware tools says it needs to log you off and finish installing something, let it do that.
Your pentest lab machines are now up and running!If you left the default network settings when installing your VMs (for me it was “Share with my Mac (NAT)”), then your lab machines will have network connectivity to one another.